Friday, June 30, 2017

Wake Up Rusty!

...Or you'll miss your "a-paint-ment!"  LOL!

Oh, come on, have a sense of humor!

July First, and resuming the restoration project is right on schedule.

The wagon seat and box repairs have sat through a cold wet winter and endured their first 100 degree day.  The seat came down to the shop today for inspection and preparation for painting.


During the winter I realized that the lower seat back panel and the bottom seat boards were not original.  (However they were installed after the Great Wood Boring Beetle Attack!) This accounted for a poor fit in the corners.

One task that I did today, was to re-contour the corners for a nice appearance.

There is one small adhesion fail in the epoxy that I should be able to fix this evening.


New contour.


Next came a sanding-fest, beginning with 150 dry, followed by 220 dry, inside and out.  The surfaces had been coated with clear wood sealer, which had to be completely deglossed.  All the surface imperfections were filled last winter.


I always have a hard time deciding whether to disassemble and paint, or leave intact.  Plus the challenge of painting inside and outside.  I decided that there would be far too much damage to disassemble, paint, then reassemble, so I tightened all the fasteners, cut off long threads and began.

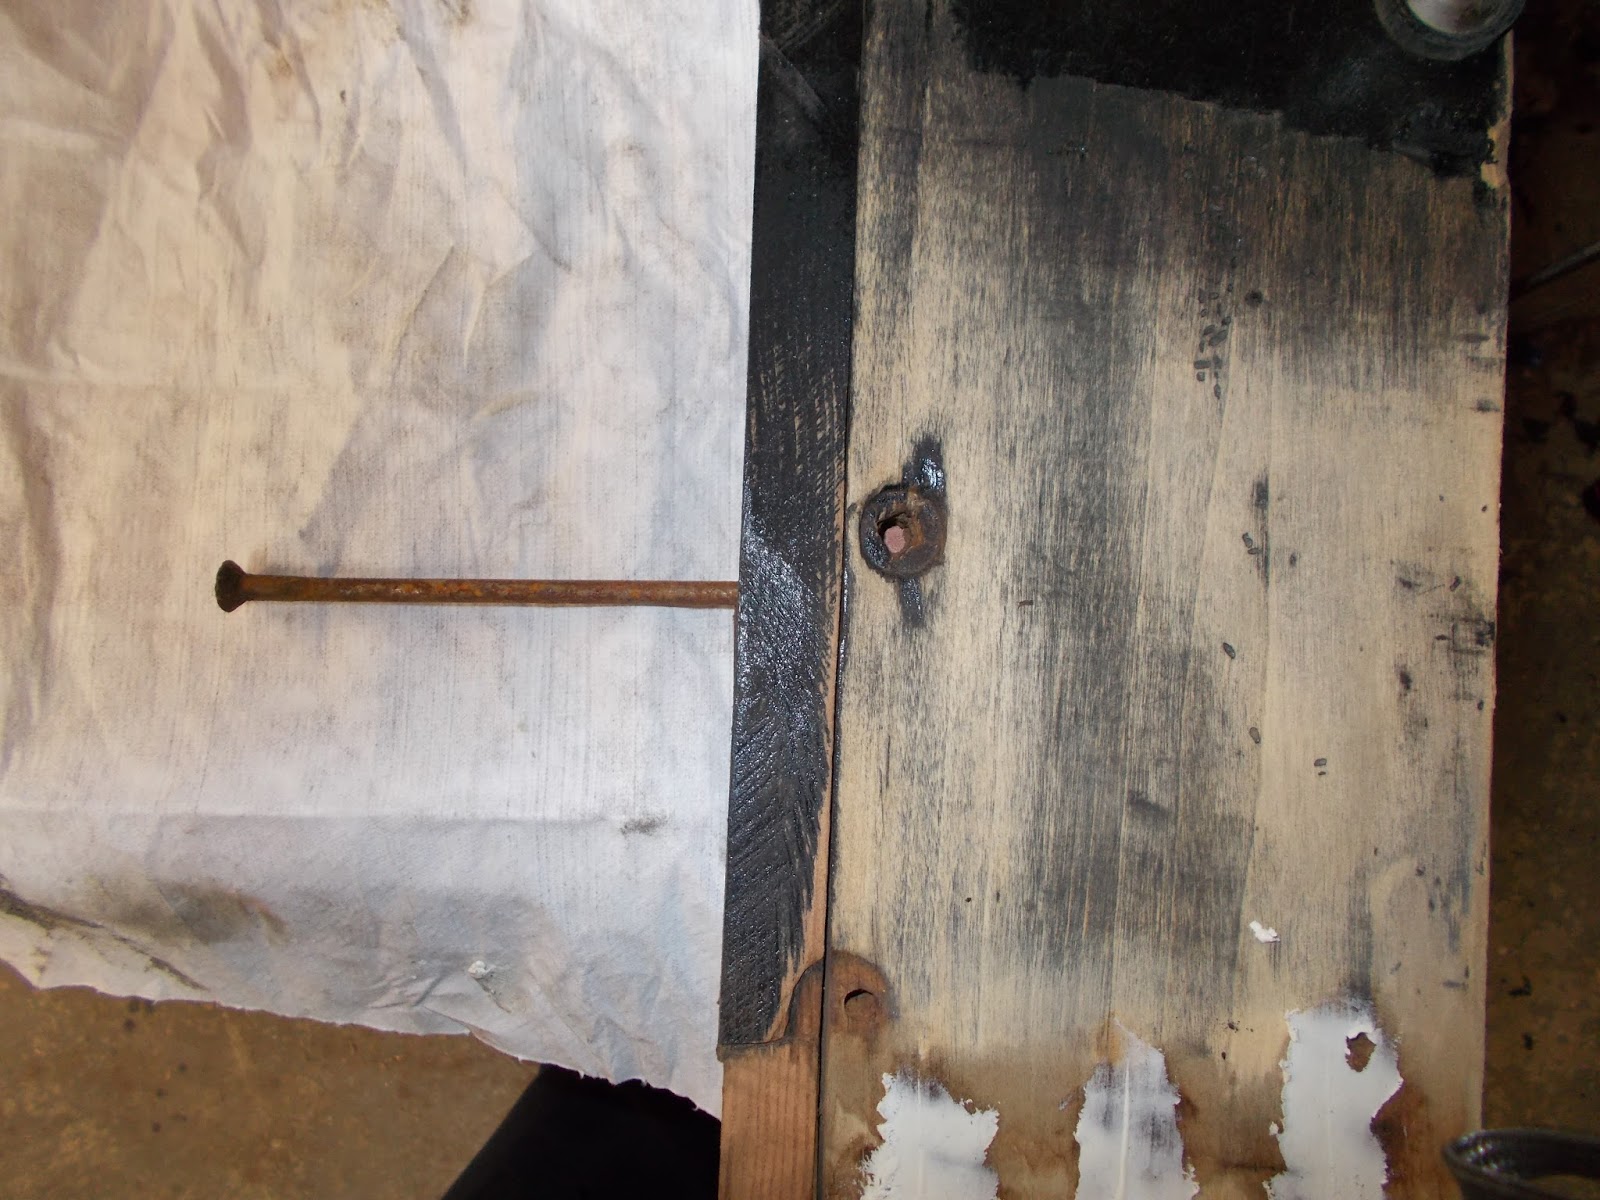
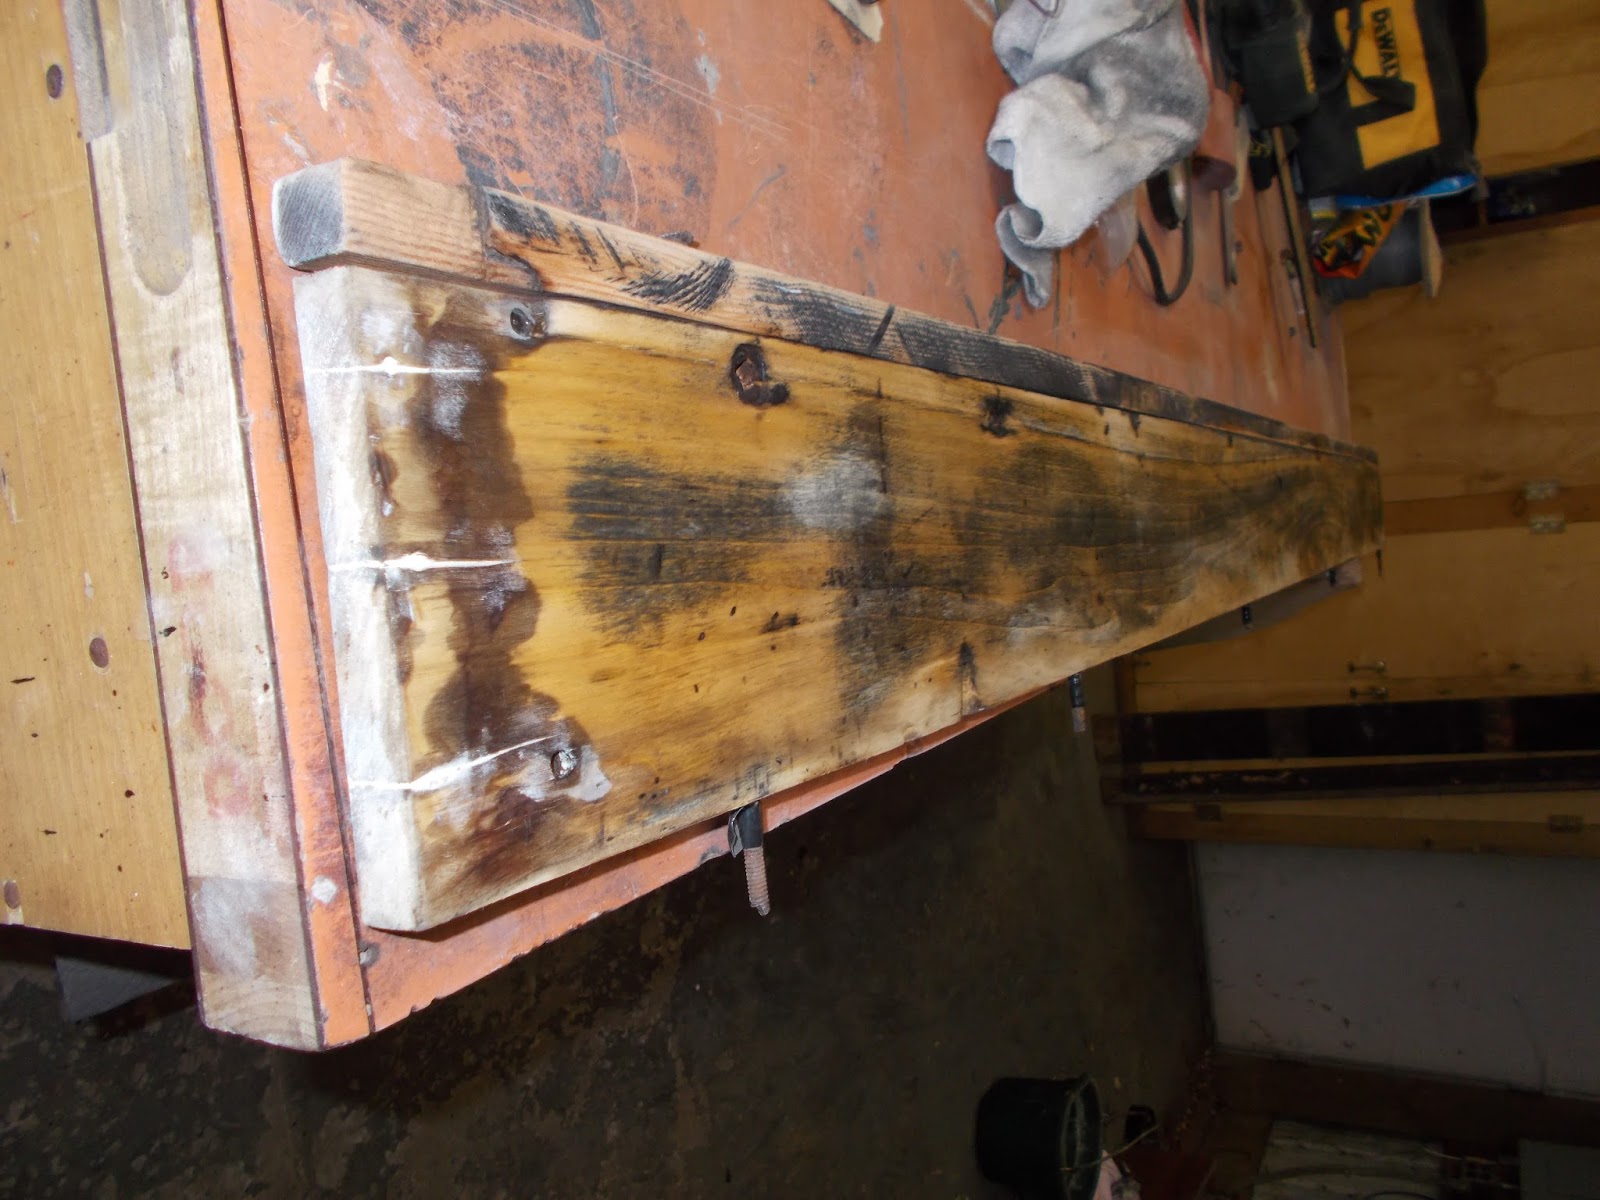
The inside of the seat will all be covered with upholstery, so I want to stress that painting the inside and the underside of the seat is strictly for protection and doesn't reflect what the finished exterior is going to look like!  If you think these pics look rough, consider that the pic at the top of the page is what was under the original upholstery!

The fastest way to be over and done with the non-visible areas was to spray with Rustoleum rattle can paint.  I used their high-build primer, which I liked quite well.  The spray enamel was the usual pfft.  But both primer and top coat are done in an hour.  The exterior is going to take days!


Under side.


And a couple coats of enamel, on the non-visible surfaces and I can forget about them for now.

Tomorrow I need to erect a portable gazebo to work under outside.  I need to drain the air compressor, install water/oil filters, gather up my spray guns, thin some primer, and maybe shoot the first coat on the external surfaces!

There may be up to six prime coats, depending on how wet sanding goes!


A darned, tiny little spot of epoxy did not adhere well in the corner.  Application fail, not the product.  Applying a little "Liquid Wood" to re-adhere it.


The underside paint actually came out quite nice!  And no - no part of my house is safe from carriage restoration activities!

Monday, January 23, 2017

It's a Planter Box! It's a Packing Crate! Noooo, it's "Rusty" the Spring Wagon!

For the first time in a little over two months, Rusty's seat is (temporarily) sitting on the box again!

But I can tell you, that even after the preliminary fit-up, the box went back together kicking and screaming!


Everything had to be kind of loosely reattached, then gradually tightened down all over.

The metal threshold and the tailgate hinges were a pure nightmare!  Now I realize why I had to originally take the tailgate off in pieces.  When it comes time to paint, the tailgate will once again come off in pieces!

So, I get to look at it happily for a little while, enjoying the fruits of my labor!

Then I need to take the seat back off to nail the floorboards down, then flip the box over to install screws and cut off long bolt threads.

Then it's back onto its running gear.  I will need to drill a couple of bolster holes in the new sill.  Did not trust the old sill for a pattern!

And back into the shed for the remainder of winter.  Warm weather means painting begins!

See you next spring!  Thank you for following along!

1/26 Update

  One more day's work remained, to drill new sill/sidewall screw holes, drive the screws, nail down the floorboards and cut long bolt threads.  (Some bolts remain long because they will be removed for painting.)

The wagon is now ready to be re-attached to the gear and moved to the shed for storage until warmer weather arrives and it's time to paint!


And finally...back on its gear and into storage until painting weather!

New Wood!

A few days ago, we got the call from Woodcrafters that our new pieces were ready to be picked up!

The inventory is, one new white oak sill...


...five new fir floorboards...


And one new white oak plank for the center of the seat.


Not until I began installing the sill and drilling critical holes did I realize the challenge I had presented Woodcrafters!

The old boards were so rustic, unevenly sawn and bowed, that the task of  milling something "matching" took a whole lot of intuition!  Especially in light of the fact that the lad who did the work had never been up close to a horsedrawn wagon, and was pretty much "flying blind" except for the old pieces I'd supplied as patterns.


Several bolt holes had to be drilled into the new sill, by drilling down through pre-existing holes in the old wood, through the new sill, then hitting a pre-existing hole in the crossbeams under the sill.

Somehow, I managed to hit the target holes in every case!

In this picture, I'm using a long "aviation" drill bit to bore through the existing rod hole in the side wall, down through the new sill, and into the crossbeam at the front of the wagon.


Floor boards trimmed to fit and carefully spaced.  The original boards varied in width!


Once I got the floorboards temporarily bolted down, I tried fitting up the tailgate, only to discover that the hinge pieces on the original threshold, bolted into their original holes, did NOT want to line up with the hinge pieces on the tailgate - ALSO bolted into the original wood and holes!

The problem I think, stems from the fact that the original bolts were slightly smaller than 1/4", and when I replaced them with 1/4" carriage bolts, I had to drill out the holes in the tailgate just a little.  Apparently, just enough to slightly misalign the hinges.  I did get them together, by loosening the nuts on the tailgate, but I'll deal with it more directly when I turn the box upside down.


This morning's tasks begin with bolting the new floorboards - which were coated with clear wood sealer last night - to the crossbeams.  After that, I had some fun checking fit on certain items (it was fun because everything fit!)

The dashboard fits!


Close up of the dashboard bolt going through the corner brace.

The bolts for the corner brace had to be bent like those on the left side, to thread them through all the layers of uneven holes.  Now the bolts can come out to have the heads "customized" to look more original.


The pivot for the brake handle bolts to the underside of the new sill.  I had a fair bit of room for error, drilling those bolt holes!

But the handle bolts on just fine.  The ratchet mounts in original holes on the side board.

One final dismantling of the right side, to surface and seal the new sill, then "final" reassembly can begin!


Wednesday, January 11, 2017

Preparing for Reassembly


The left hand vertical side wall has been repaired and surfaced.  The left ends of the cross beams have been repaired and surfaced.  The left sill is repaired, surfaced and temporarily re-installed.

While waiting for the new woodwork for the right hand side and floorboards, the left sidewall is pretty much ready to reattach.

The primary fasteners of sidewall-to-sill are long rods with countersunk heads that pass edgewise through the sidewall into the sill in five places.  Because there were no washers used on the nuts under the sill, I had to destroy the nuts, and hence the rods, to get the rods out.  I ended up making new rods out of "all thread" or running thread, after having not such a good experience trying to hand-thread 1/4 inch rod!  I used a little permanent Loctite between a hex nut and one end of each rod (there are twelve rods total) to create a "head" for each of these long bolts.  The hex nuts fit right down flush in the holes on the upper edge of the side walls.  (I have to do just a little grinding to make them fit perfectly).  The heads will be covered over with a strip of metal.  I'll use square nuts and washers on the bottoms.

Update 1/11/17...

Before reassembly of the left side, pretty much all of the crossbeams had end split repairs done.  These photos of repaired/resurfaced boards look pretty rustic, but hours have gone into preparing these boards to receive paint this coming spring, then it will look NOTHING like it does now!

The reassembly was fun and interesting, and the new rods went perfectly into place with plenty of thread to spin the bolts onto.  In order to finish up, there are screws that go up through the sill from underneath and into the panel, but that is for later, when I can turn the box over.  But I can tell you, that is one sturdy panel!

All the ironwork has been cleaned and de-rusted, and all the rust pitting has been filled.  These pretty braces are only installed temporarily, and will have to come off for painting, but in the meantime, there's no better place to store them than on the wagon itself!

The ends of the bolts look ugly, and surely they must be turned the wrong way?!  But in fact, the threads of the bolts face outward, so there are no sharp edges to snag feed sacks and such in the wagon bed!  All these fasteners are random, just to hold things together temporarily.  When the final reassembly takes place, the threads will be cut flush with the nuts.


This is the inside, left front corner.  Rather than traditional iron-reinforced wood framing, the corner is reinforced with this casting.  At the top of the casting, you can see a projection with a hole through it.  This receives the bolt for the dashboard!

Again, the fasteners are random for now, as the front panel has to come off in order to install the new floorboards (that are on order).


This is the outside view of the above corner.  The corner is covered with a sheet metal plate which thankfully, was little damaged by rust.

The hand bored holes through the wood are a nightmare of twists and turns, as the hardware holes do not match up perfectly.  It will be a bit o' fun to try bending bolts so that the heads will lay flat against the sheet metal!

The new wood for the right hand sill and all new floorboards is on order (custom milling).  It WOULD be here soon, but the local world has come to a standstill due to rather extreme (for us) winter weather.

While waiting for the new wood, it's time to focus on cleanup and repair (split ends!) on the right side.


Monday, January 2, 2017

Rusty Bolts Fear Me!

On Thursday, 12/29/16, We took the bugshot right hand sill of the wagon box to Woodcrafters in Portland, to have it, and the five floorboards, duplicated.

I could not help but think that even though I had thoroughly stabbed the left hand sill, looking for bug damage, I had missed something.

And I had.  I was able to chip some wood away on the edge of the sill, adjacent to the floorboard.

I was concerned enough that I called Woodcrafters to leave a message asking for a mirror image of the right sill.

But my chisel wasn't going in very far and I wondered...which prioritized the removal of the left sidewall, and then the sill.  The picture above is all that remains of my wagon box!  A few floorboards, and some crossbeams!


After really digging and prodding, all I came up with was some very shallow excavation in a confined area.  I'm going to repair it and re-use the board.

In the meantime, I have removed the last of the nuts and screws and all the hardware.  Most of the remaining repair work is cosmetic, until the new floorboards and right sill arrive!  This is the edge of the sill that faces inward toward the floorboards.  The larger area is the upper surface (where your feet would rest), and the deepest part goes in about 1/4".


Update 1/2/2017...


I carried through with my decisioin to salvage the left sill, and here it is, reinstalled.


This is the area where the main edge damage occurred. The end of the board is the front of the wagon.


Prior to re-installation of the sill, it was necessary to clean up and do some end-grain crack repairs to these pretty crossbeam ends.  A pretty iron brace goes from this piece to the side wall on the exterior of the wagon...


This is the center one on the same side.  It was pretty much perfect.  I will have similar repairs on the right side.


The front vertical panel has been relieved of end splits and minor blemishes...

(The ends of this panel are covered by sheet metal plates.)


And finally!  The left side vertical panel has come in for end split repairs and blemish removal.

All that's left now is to finish up some of the metal work while awaiting the new wood!


Wednesday, December 28, 2016

Construction Notes, Beetle Damage, Panel Split Repairs and Other Stuff

I think the advice bears repeating:  Do not buy a project carriage that has been attacked by wood boring beetles!

This is a shot of the underside of one of the wagon floorboards.  It's a surface I've never really seen, until we pulled the wagon box off the gear and turned it over.  Those little holes are beetle exit holes.

The beetle larvae will leave the surface of a board, but completely excavate the interior, leaving nothing but sawdust (actually bug poop) behind.


Such was the fate of this heavy beam, or sill, on the right hand side of the wagon box.  The previous owner painted over what looked like a sound surface, but when I tested the surface with a screwdriver, it was soft, then whole chunks of wood broke out with moderate prodding with a chisel.  Once I gathered the courage to dismantle the box, the back end of the board broke off while removing it.

I don't think this is dry rot.  I think it is beetle damage.  That's why the bugs are called "powderpost beetles."  They can leave a post standing, but turn the inside into powder.

I spent many hours repairing beetle damage in the wagon seat.  When I turned the wagon box over and saw that all the floorboards are peppered with beetle holes, my heart really sank.

I wasn't familiar with the construction of the wagon, as it uses no wooden framing, and I was scared to death to attempt dismantling.  It turned out that it wasn't that complicated after all, and I got the board out safely.  At this point I decided it was a no-brainer to have a wood working company not only mill me a new sill, but also new decking to replace the bug-shot boards.

Construction


As I mentioned, there's no wooden framing on the wagon box.  It's built like a colossal packing crate.

What there is instead, is a pair of these metal corner braces, which I realize you can't make hide nor hair of.  On the inside of the wagon box corner, is an iron brace, complete with mount for the dashboard.  The outside of the corner is covered with a sheet metal plate.  Bolts hold the two together, and there is a bolt that goes through the sill.

The two side, and one front panel of the box, are lapped and nailed together.


This is the inside iron brace, with the dashboard mount to the left, which would be the upper edge of the vertical panel.  The right hand end bolts through the floor.


But the thing that had me scared to death about dismantling was the methods used to attach the vertical side panels to the sill.

This picture is of the wooden side panel, just detached from the ruined sill.  When I got an idea that the side panel was bolted to the sill by means of these LONG rods, which pass through the panel from top to bottom, and through the sill, I had a fleeting notion that I would somehow destroy the panel by trying to remove them.

The big problem with getting these bolts out, is that like all the other fasteners on this wagon, the maker saved money by economizing in this department.  He didn't use a single washer on a single nut and as a result, all the nuts are screwed right down into the wood and inaccessible to either wrench or nut splitter.

And then there were screws, from the underside of the sill into the side panel.  Sometimes getting screws out of an old carriage is just about, if not completely, impossible.

As for these screws, they ended up being like all the other screws I've encountered on the wagon.  They'd excavated their hole sufficiently, that they pried out easily, more than unscrewing.

Getting at the buried nuts on the rods was more of a challenge, and I ruined all the rods, but I can make new ones.  I ended up putting an oversized socket over the nuts and smacking the socket with a hammer, to crush the wood fibers down enough to get a tool on the nuts.  It was a tough job, but what a great feeling when the beautiful, and astoundingly undamaged side panel fell free from the rotten sill!


Here's an example of the condition that all the fasteners are in...and this is a good one!


Tailgate hinge bolts.

Today I named the wagon "Rusty."


The Panel...


The most urgent matter with the side panel was inspecting the bottom edge for rot and beetle damage, as it joined the terminally rotten sill.

First of all, the sill itself is SOUND under the panel!

But more important, there appears to be not a single SPECK of bug damage to this plank! (Update:  Oops, four specks.)

So this is the front end of the plank.  That piece on the left that appears to be split off is, in fact, a separate piece of wood.  The outer edge of that piece is milled to form a nice trim edge.  It's a different type of wood, and is very sound and strong.  Looks like fir.

So initially, the main damage that I can find to the side panel is these three split out nail holes.  I can't find a split anywhere else on the board (so far).  (Update:  The bottom edge of the board could use just a little work on some very small splits around screw holes.)  Currently I have in process a cool repair that I picked up from an architectural restorer's blog.


Drat!  Blogger's done it to me again.  Format change.  Anyway, in the above photo, I've sanded the back side of the damaged board really well and applied Abatron WoodEpox all around the damage, pressing it in really well, to form a DAM, which will contain the Liquid Wood, which I will pour into the splits from the other side.  When the repairs are cured, these dams will be sanded back and become a permanent part of the repair.

A few hints to begin with.  WoodEpox doesn't really like to stick to dry wood all by itself.  I tried thinning it with Abosolv a little, but it would be much better to either "prime" the surface with Liquid Wood, or mix a little LW into the Wood Epox, just enough to make it a little stickier.  I was too impatient to go through the 10 minute induction phase with the LW, so made sure the WE was well stuffed into and around the cracks.

The next most important thing is, the WE has to be SET UP before phase #2.  Otherwise it will dissolve into the Liquid Wood!  I found that out by smearing it over uncured LW in bug holes.  It just dissolved and went right down into the bug holes!

Tomorrow, I'll begin the process of filling the cracks with Liquid Wood from the other side.  The LW will bond to the WE dams.


While the WoodEpox was still just a little tacky, Liquid Wood was poured into the cracks and nail holes until it finally quit absorbing into the wood and began to set up.  Repairs sat under a carefully positioned heat lamp overnight and were hard about 24 hours later.


12-28-16 Update... 


Today I contacted Woodcrafters, a wood seller/shop in Portland, OR.  They have agreed to take on my project!
So one task today was to wrestle a floorboard out to take with me, as they will be replacing the floorboards as well as the sill, and a small plank that sits in the center of the seat.  In about three weeks, reassembly will begin!


Today's other task was to strip the inside surface of the right side board.  This shows the nail hole/split repairs.  This side of the plank will not be relieved of its "character" as it never had a high finish to begin with.  The surface took coat after coat of sealer!


The exterior surface got relieved of all its defects and sealed.

I can now add another component to the growing inventory of repaired-and-waiting-for-paint parts!

Tomorrow the front panel comes off - necessary to remove/replace the floorboards.  After that, work will slow down considerably until the new planks arrive.


Friday, December 23, 2016

Body Off!

I wasn't going to do this, buuutttt....

Lots of boring winter left, and if I don't do the box this winter, it either won't get done, or it will be disassembled and laid up for yet another year.

The reason being, there is only a very brief window where I can paint in my low-tech operation.  Winter is the time for repairing, summer for painting....along with all the other work screaming to be done in summer!

So, let's have at it and get the body ready for a new paint job.  Maybe I can get all my painting done within a few weeks and be done by next spring.  Thankfully, the gear and wheels are long since done, except for a bad scrape on the hub of the far rear wheel, which I'll tend to pretty quickly.

So Here We Go!


First comes removing some peripherals, like this heavy brake.  Dashboard, steps and rub rollers also have to come off.


Considerably lightened, we were able to hoist the body off the gear by hand, after undoing 12 bolts.


I'll take this opportunity to clean and oil the 5th wheel.  Heck, maybe I should try pinstriping the gear!

Tomorrow I'll start in on the interior of the box.


Almost a Deal Breaker...


This isn't much of a picture, but what you're looking at is an excavation of beetle damage in the front end of the right hand sill, a heavy hardwood beam that runs the length of the wagon box and to which things like brakes attach.

Poking around with a screwdriver, I knew the sill would need some work, but when I took a chisel to it this morning, sections of wood crumbled away.  There is some amount of damage along the entire six or so feet of the sill.

I came very close to calling it quits on the wagon today.  The method of assembly of the wagon box is absolutely diabolical and I am dangerously outside my skill set on reproducing a timber like this.


However, we turned it upside down on the saw horses, and the fasteners started falling.  As I started dismantling it, I learned the construction technique and soon became confident that there's nothing here that can't be fixed.


Eventually the sill came free, along with the vertical side panel of the wagon box.

In order to keep the side panel from twisting, I am going to leave it attached to the damaged sill until I'm finished preparing it for refinishing.

Then I will detach the ruined sill and take it to a woodworking firm in Portland to have it reproduced.

May as well publish this post, and come back when the new sill is ready to install!